DIY PLANT-ABLE SEED PAPER!
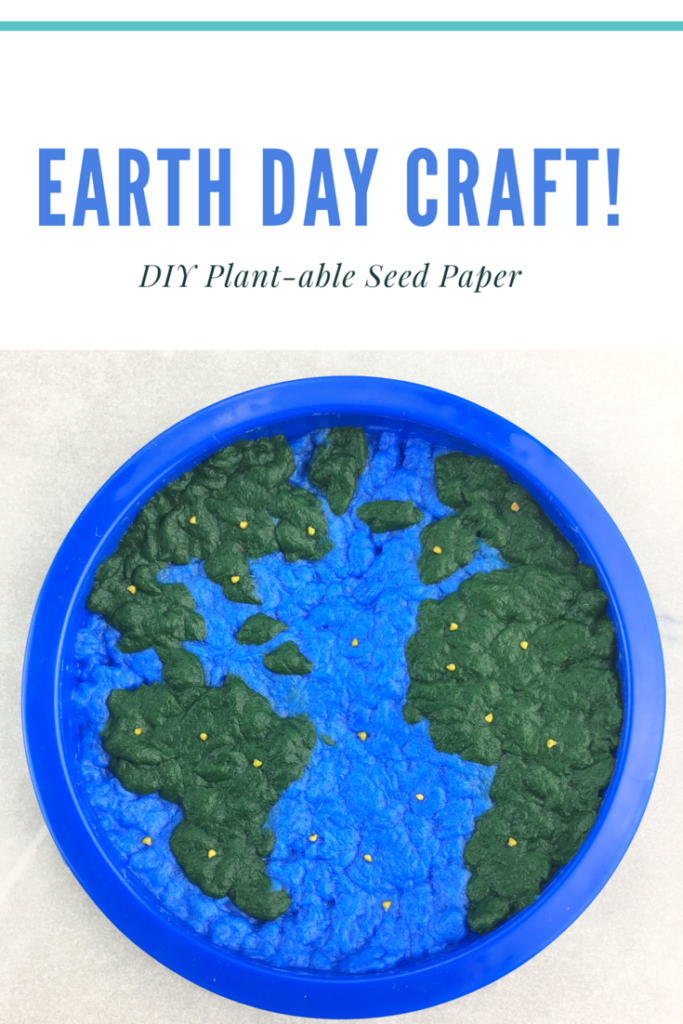
Spoiler Alert: We’re mailing these out in our hand-made Spring cards to our family and friends this year!
This DIY seed paper craft turned out even better than I expected and it was excellent scissor cutting practice for Miss 3! Instead of using local wild flower seeds, we used strawberry seeds since that’s what we had on hand. I’m now looking forward to strawberries in our garden this year. Yum!
Many years ago, I received an unforgettable card from a family member. It said to detach the bottom portion, made from wild flower seeded paper, and plant it. I have always wanted to recreate my own version of seed paper to send out in cards, and we finally did!
By the way, if you haven’t heard of seeded paper, it’s becoming quite the trend. I’ve now seen it included in kids crafts, wedding favors, greeting cards, and more. After this wonderful experience, I can say with certainty that there are more seeded paper ideas to come!

To make a seed paper Earth, you will need:
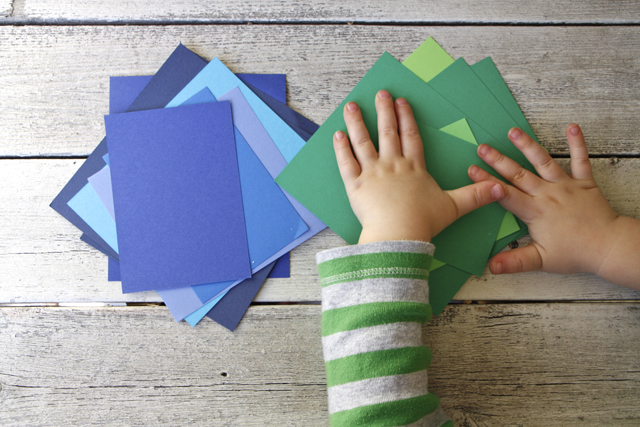
- Two Blue sheets of construction paper (We used Kid Made Modern paper)
- One green sheet of construction paper
- Kid’s safety scissors
- Two bowls
- One fine mesh strainer
- One piece of parchment paper
- One cookie sheet pan
- Circle cookie cutter
- Seeds (We chose strawberry seeds, but you can also choose local wild flower seeds to promote pollinators in your area)
- Blender
- Spoon
- Warm water
Instructions:
1.) If you have preschool children, start by cutting the construction paper into long strips. Using the preschool safety scissors, have your child cut the construction paper strips into small pieces (with adult supervision.) Cut one color at a time and add all blue paper pieces into the first bowl.
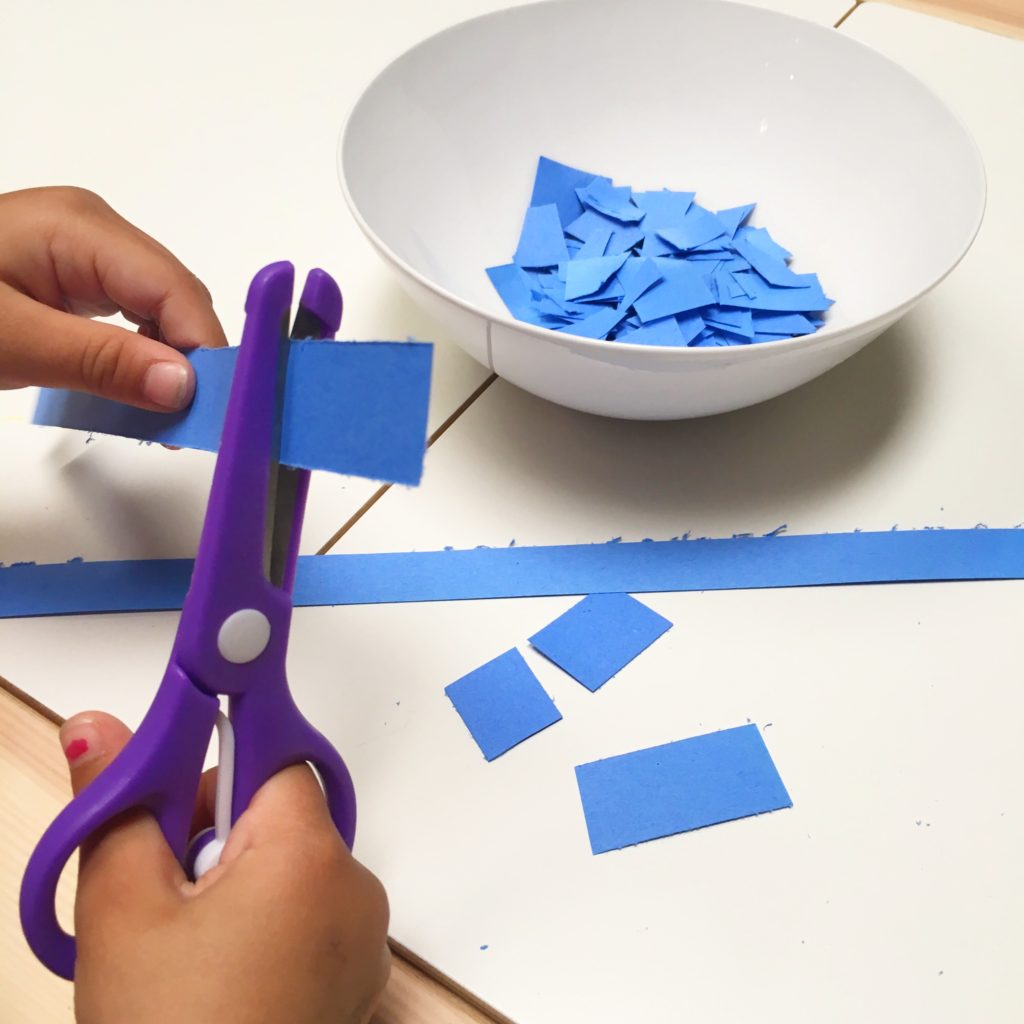
2.) Next, add all green paper pieces into the second bowl. (This part is excellent scissor cutting practice for the kiddos and it kept Miss 3 busy for over 30 min.)
3.) Then add plenty of warm water to each of the bowls. (This is also a great step for this kiddos.) Make sure the paper pieces are fully saturated. Let the paper soak for at least 20 minutes. Meanwhile, place the parchment paper onto the cookie sheet pan. Lay the cookie cutter shape onto the parchment paper.

4.) Once the paper has soaked, pour the wet paper/water mixture into the blender. Feel free to add a bit more warm water so the blender can easily puree the paper mix.
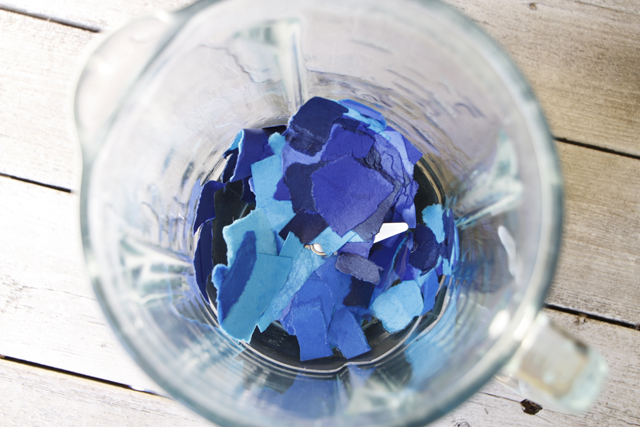
5.) Blend. The paper pieces should turn into a blue looking pulp. Pour the blue pulp back into the first bowl, then rinse the blender out.
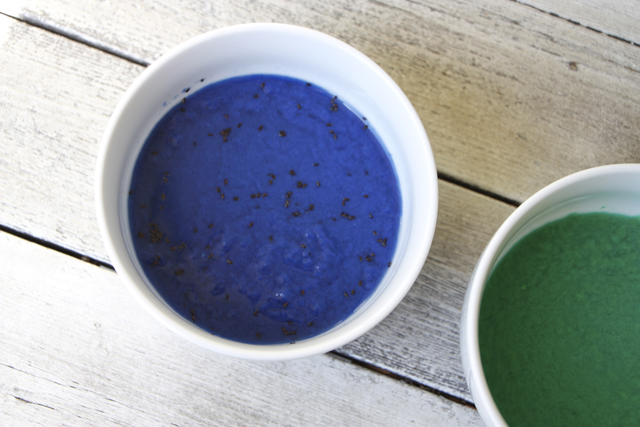
6.) Repeat the blending process with the green paper/water mixture. (I love how the paper has dyed the water. I’m saving the water to use for watercolor painting for another activity.)
7.) Once both mixtures are done, they should look like the photo below. (This green color reminds me of algae. I’m going to keep this in mind for an amazing sensory bin idea in the future.)

8.) You can choose to add your seeds now, or wait and add a specific number of seeds to each cookie cutter shape. (We chose to add a specific number of seeds to each shape since we incorporated strawberries.) If you use wild flower seeds, add them to the bowls now and mix them up.
important side note:
If you’re using wild flower seeds, I recommend using wild flowers that are local to your area. If you use wild flowers that are not local, they can become an invasive species and choke out the native flowers, which in turn effect the pollinators.
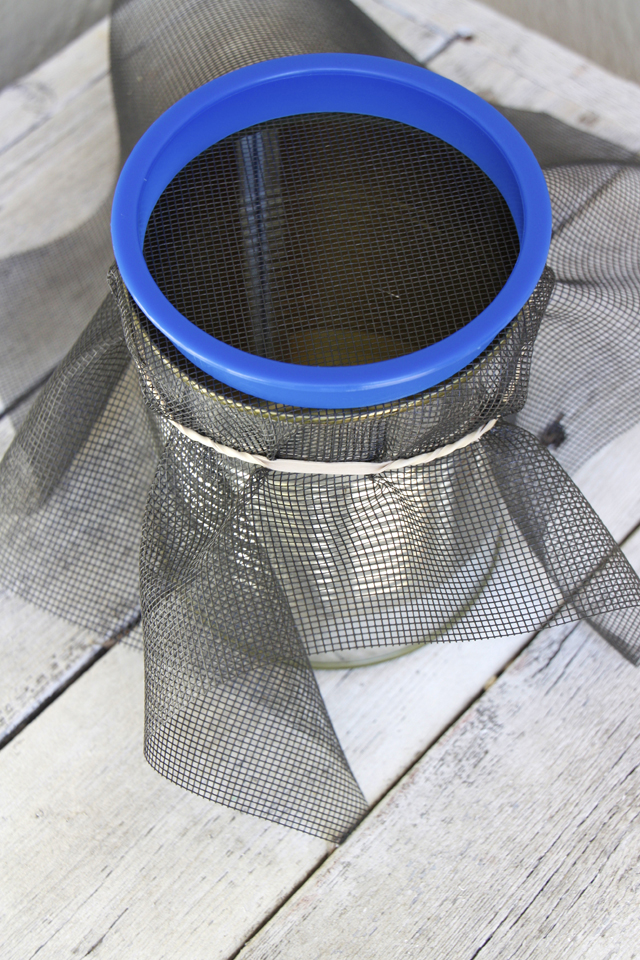
9.) Now, spoon the blue mixture into the fine mesh strainer, over the bowl, so the water will drain back into the bowl. (Pictured below)
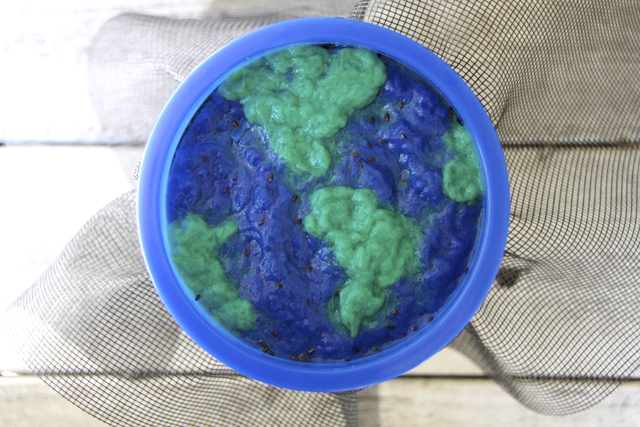
10.) After straining the mixture, spoon drops of the blue mixture into the circle cookie cutter. Cover the entire circular area with a solid layer of blue. Sprinkle the seeds over the circular area. (I placed them on top simply for photo purposes. Afterwards, I gently pushed them down into the wet paper mixture and completely covered them by adding a bit more mixture on top.)
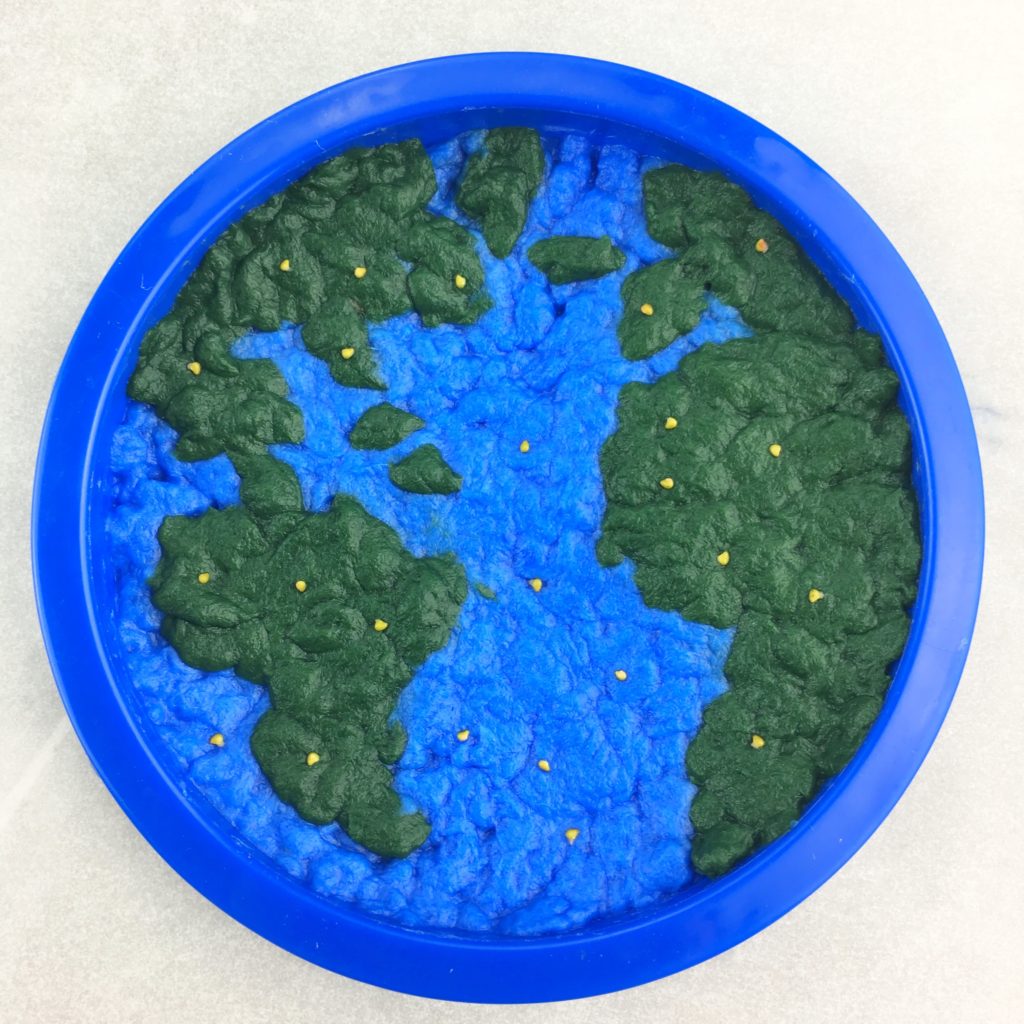
11.) Next, strain the green mixture and add pieces on top of the blue, in the shape of the continents. (These don’t have to be exact. I free-handed ours while looking at a 2d image of the earth.)
12.) After that, use small drops of mixture to cover any seeds remaining on the surface. I used a paper towel to gently soak up a bit of the water on the surface, then set the paper towels aside for another craft. Gently remove the cookie cutter while the mixture is still wet. Repeat the construction process until you run out of wet paper mixture.
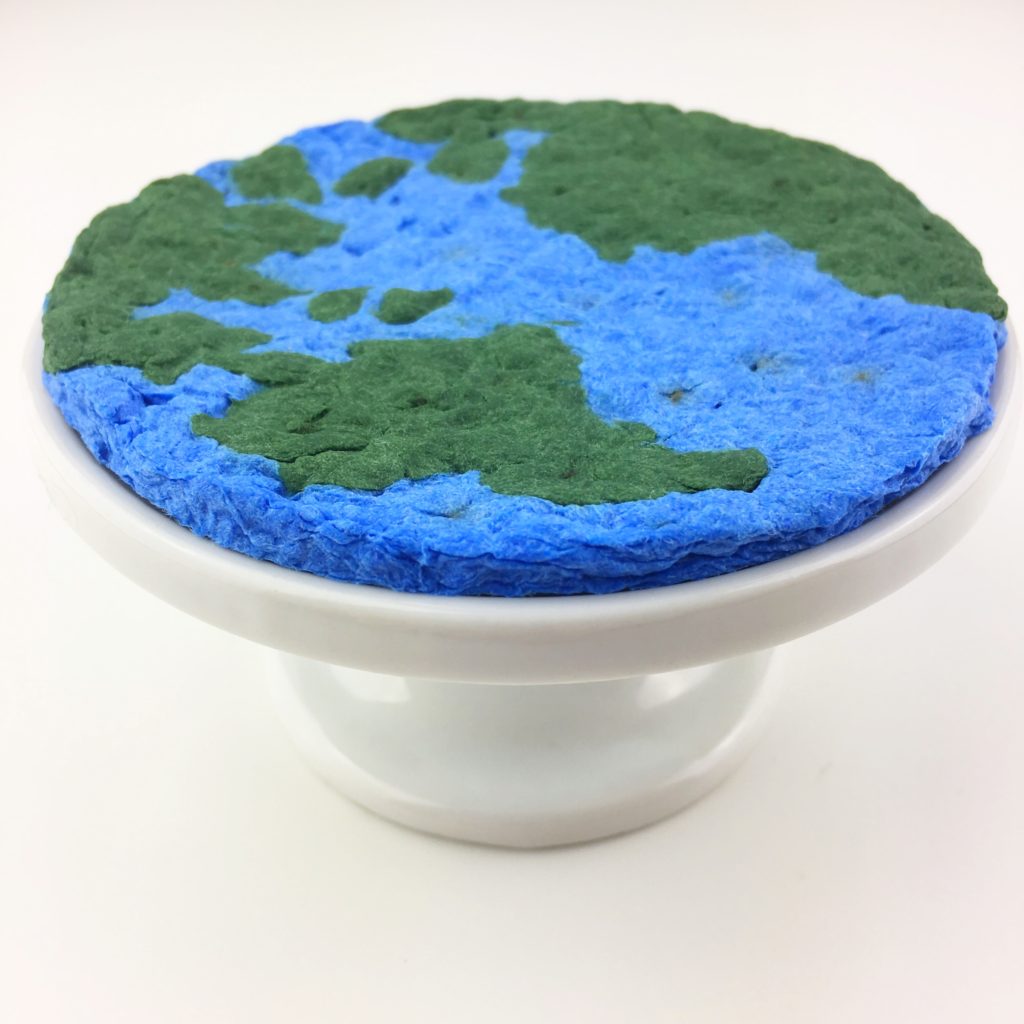
13.) Finally, place the seeded paper in the sun to dry, or in a safe place indoors to dry. These may take more than one day to completely dry. Once dry, carefully peel off the parchment paper. Gift as gifts, or plant wherever you’d like.
time-saving hack:
If you plan to make this DIY Seed Paper craft in bulk, you can make a solid seeded sheet. Let it dry completely, then punch out shapes using craft punches to save time. I plan on doing this in the future for wedding favors, and party gift bags.

planting instructions:
To plant, place the seeded paper onto soil that is slightly compressed. Add 1/8 inch of soil on top of the paper and give it a good drink of water. Place in a sunny spot and water gently on a daily basis. (We use a misting squirt bottle to water these to avoid soil displacement.) Watch them grow. And most importantly, enjoy!
2 Comments