HOW TO MAKE HOMEMADE STRAWBERRY JAM

Do you like strawberry jam on your toast? It’s one of my favorite flavors. I love strawberry season because it means I get to make all things strawberry.
This year, I wanted to try canning for the first time. So, I took a free class on canning through our local library, where we learned how to make fresh salsa. During class, I won a set of Ball jar lids and a copy of Mother Earth News magazine. As a result, I left with confidence, knowing I was going to try canning at home.
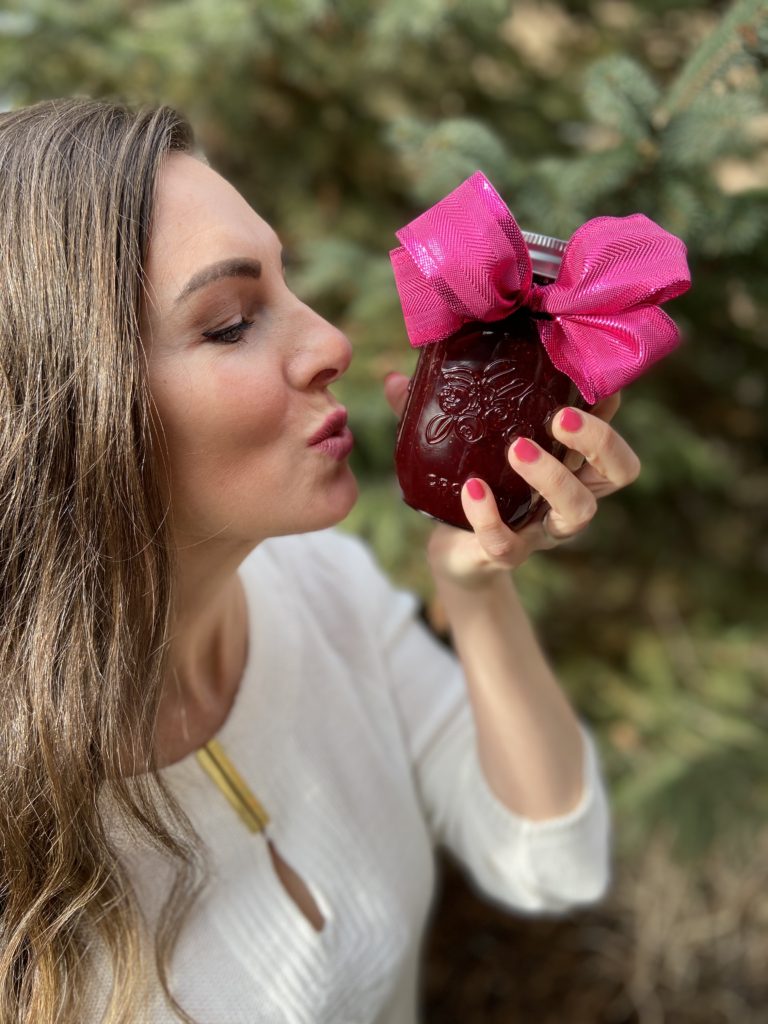

The following week, I found a case of 12 Crofton Regular Mouth Pint Canning Jars at Aldi. I also found a Canning Utensil Set in the same isle. This set proved to be extremely useful during the canning process. (I linked the most popular set of Ball brand products above.)

Although I wasn’t sure what I wanted to try first, I decided to keep it simple and start with jam. Since strawberry is my favorite, I researched recipes and decided on making this recipe for homemade strawberry jam without pectin. That’s right, this is a 3 ingredient recipe without preservatives. (The sugar and the lemon juice help preserve the jam naturally.)
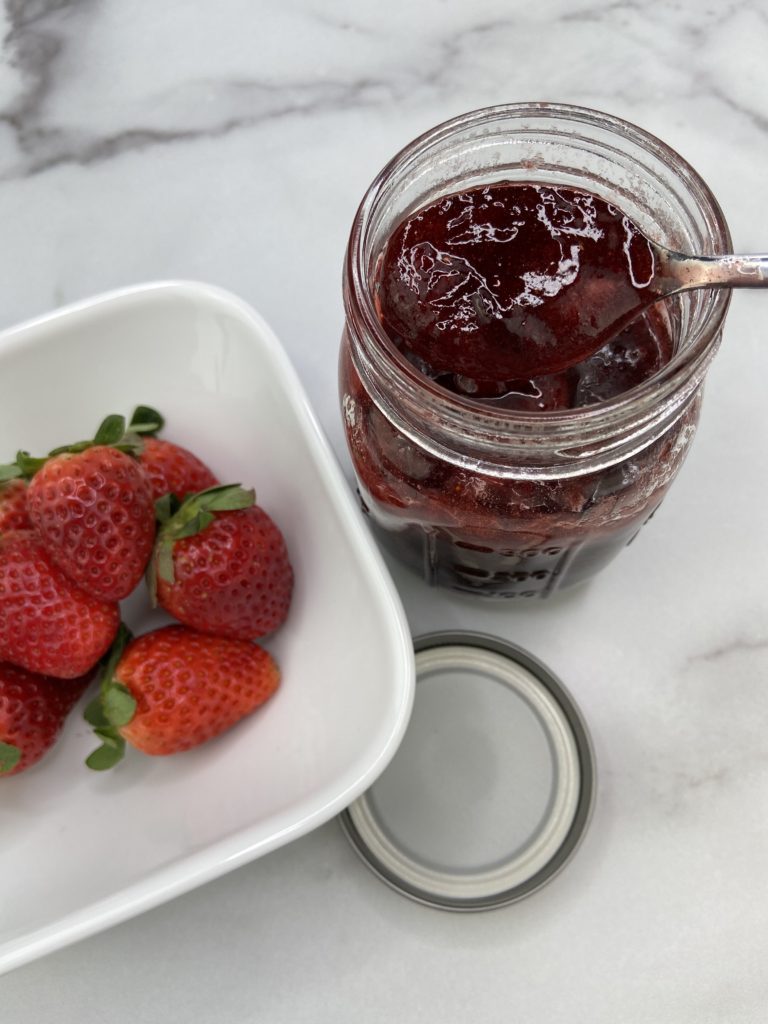

Homemade Strawberry jam Recipe
Homemade Strawberry Jam
Equipment
- Candy Thermometer
- Heavy Bottom Saucepan
- Regular Mouth Canning Jars with Lids
- Canning Utensil Set
- Potato Masher
Ingredients
- 2 lbs Fresh strawberries, hulled
- 4 cups Organic granulated sugar
- 1/4 cup Lemon juice
Instructions
- In a wide bowl, crush strawberries in batches until you have 4 cups of mashed berry.
- In a heavy bottomed saucepan, mix together the strawberries, sugar, and lemon juice. Stir over low heat until the sugar is dissolved.
- Increase heat to high, and bring the mixture to a full rolling boil. Boil, stirring often, until the mixture reaches 220 degrees F (105 degrees C). This boiling process took 22 minutes for my mixture to reach 220 degrees. This step is crucial.
- Transfer to hot sterile jars, leaving 1/4 to 1/2 inch headspace, and seal. Process in a water bath.
- If the jam is going to be eaten right away, you don't need to process in a hot water bath. Simply refrigerate.
Notes
- Place a plate in a freezer… after about 20 minutes of boiling, place a tsp of the liquid jam onto the cold plate. Return to freezer for one minute. Run your finger through the jam on the plate. If it doesn’t try to run back together (if you can make a line through it with your finger) it’s ready to be canned!
- If you want to make this strawberry jam outside of strawberry season, you can substitute frozen strawberries. Simply thaw, then mash and measure accordingly.
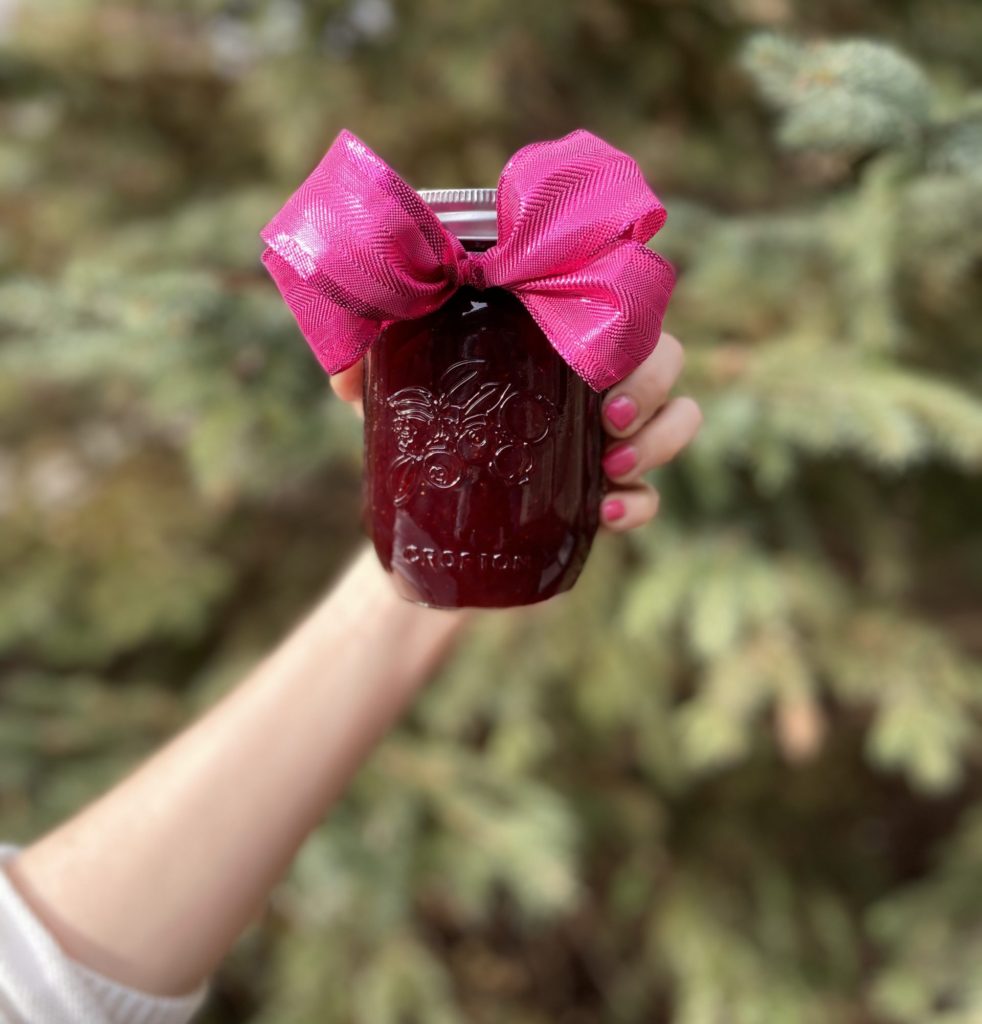
I doubled this recipe and used 4lbs of strawberries. As a result, I was able to fill 4 pint sized canning jars, leaving 1/4″ headpace, plus one 3/4 full pint sized jar that I simply refrigerated to eat immediately. I gave the other 4 away as gifts to family and friends.
Let me know how your homemade strawberry jam turns out in the comments below.
FUN ACTIVITIES FOR KIDS:
Check out one of our most popular kids activities: Blooming Puddle Paper Flowers activity.
EASY CRAFTS FOR KIDS:
If you’d like to try an easy crafts for kids, try these Wax Paper Suncatchers.
Disclosure: Some of the links in the post above are “affiliate links.” Therefore, if you click on a link and purchase the item, we will receive a small commission. Regardless, we give our promise that we only recommend products or services that we use personally. Above all, we believe this adds value to our readers.


One Comment