Gluten-Free Pumpkin Chocolate Chip Cookies
This post contains affiliate links. View my full Disclosure Policy for more information.
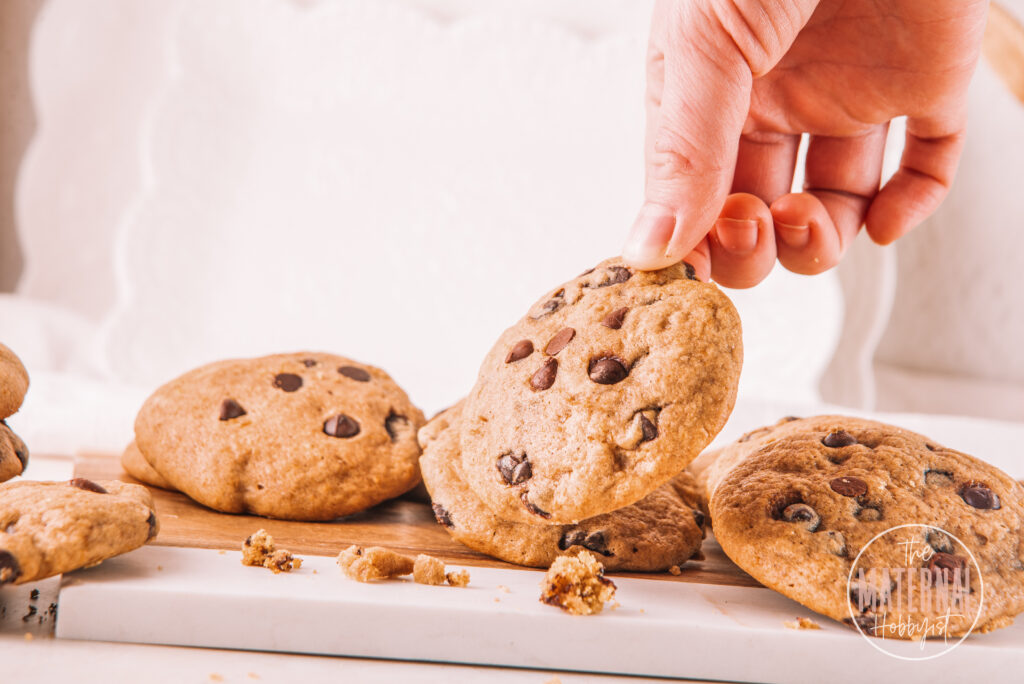
Enjoy the best of fall with these yummy Gluten-Free Pumpkin Chocolate Chip Cookies! They’re delicious and packed with yummy pumpkin and chocolate chip goodness. Perfect to make in advance for the holidays. Get ready to savor the flavors of autumn with these irresistible gluten-free cookies!
Jump to Recipe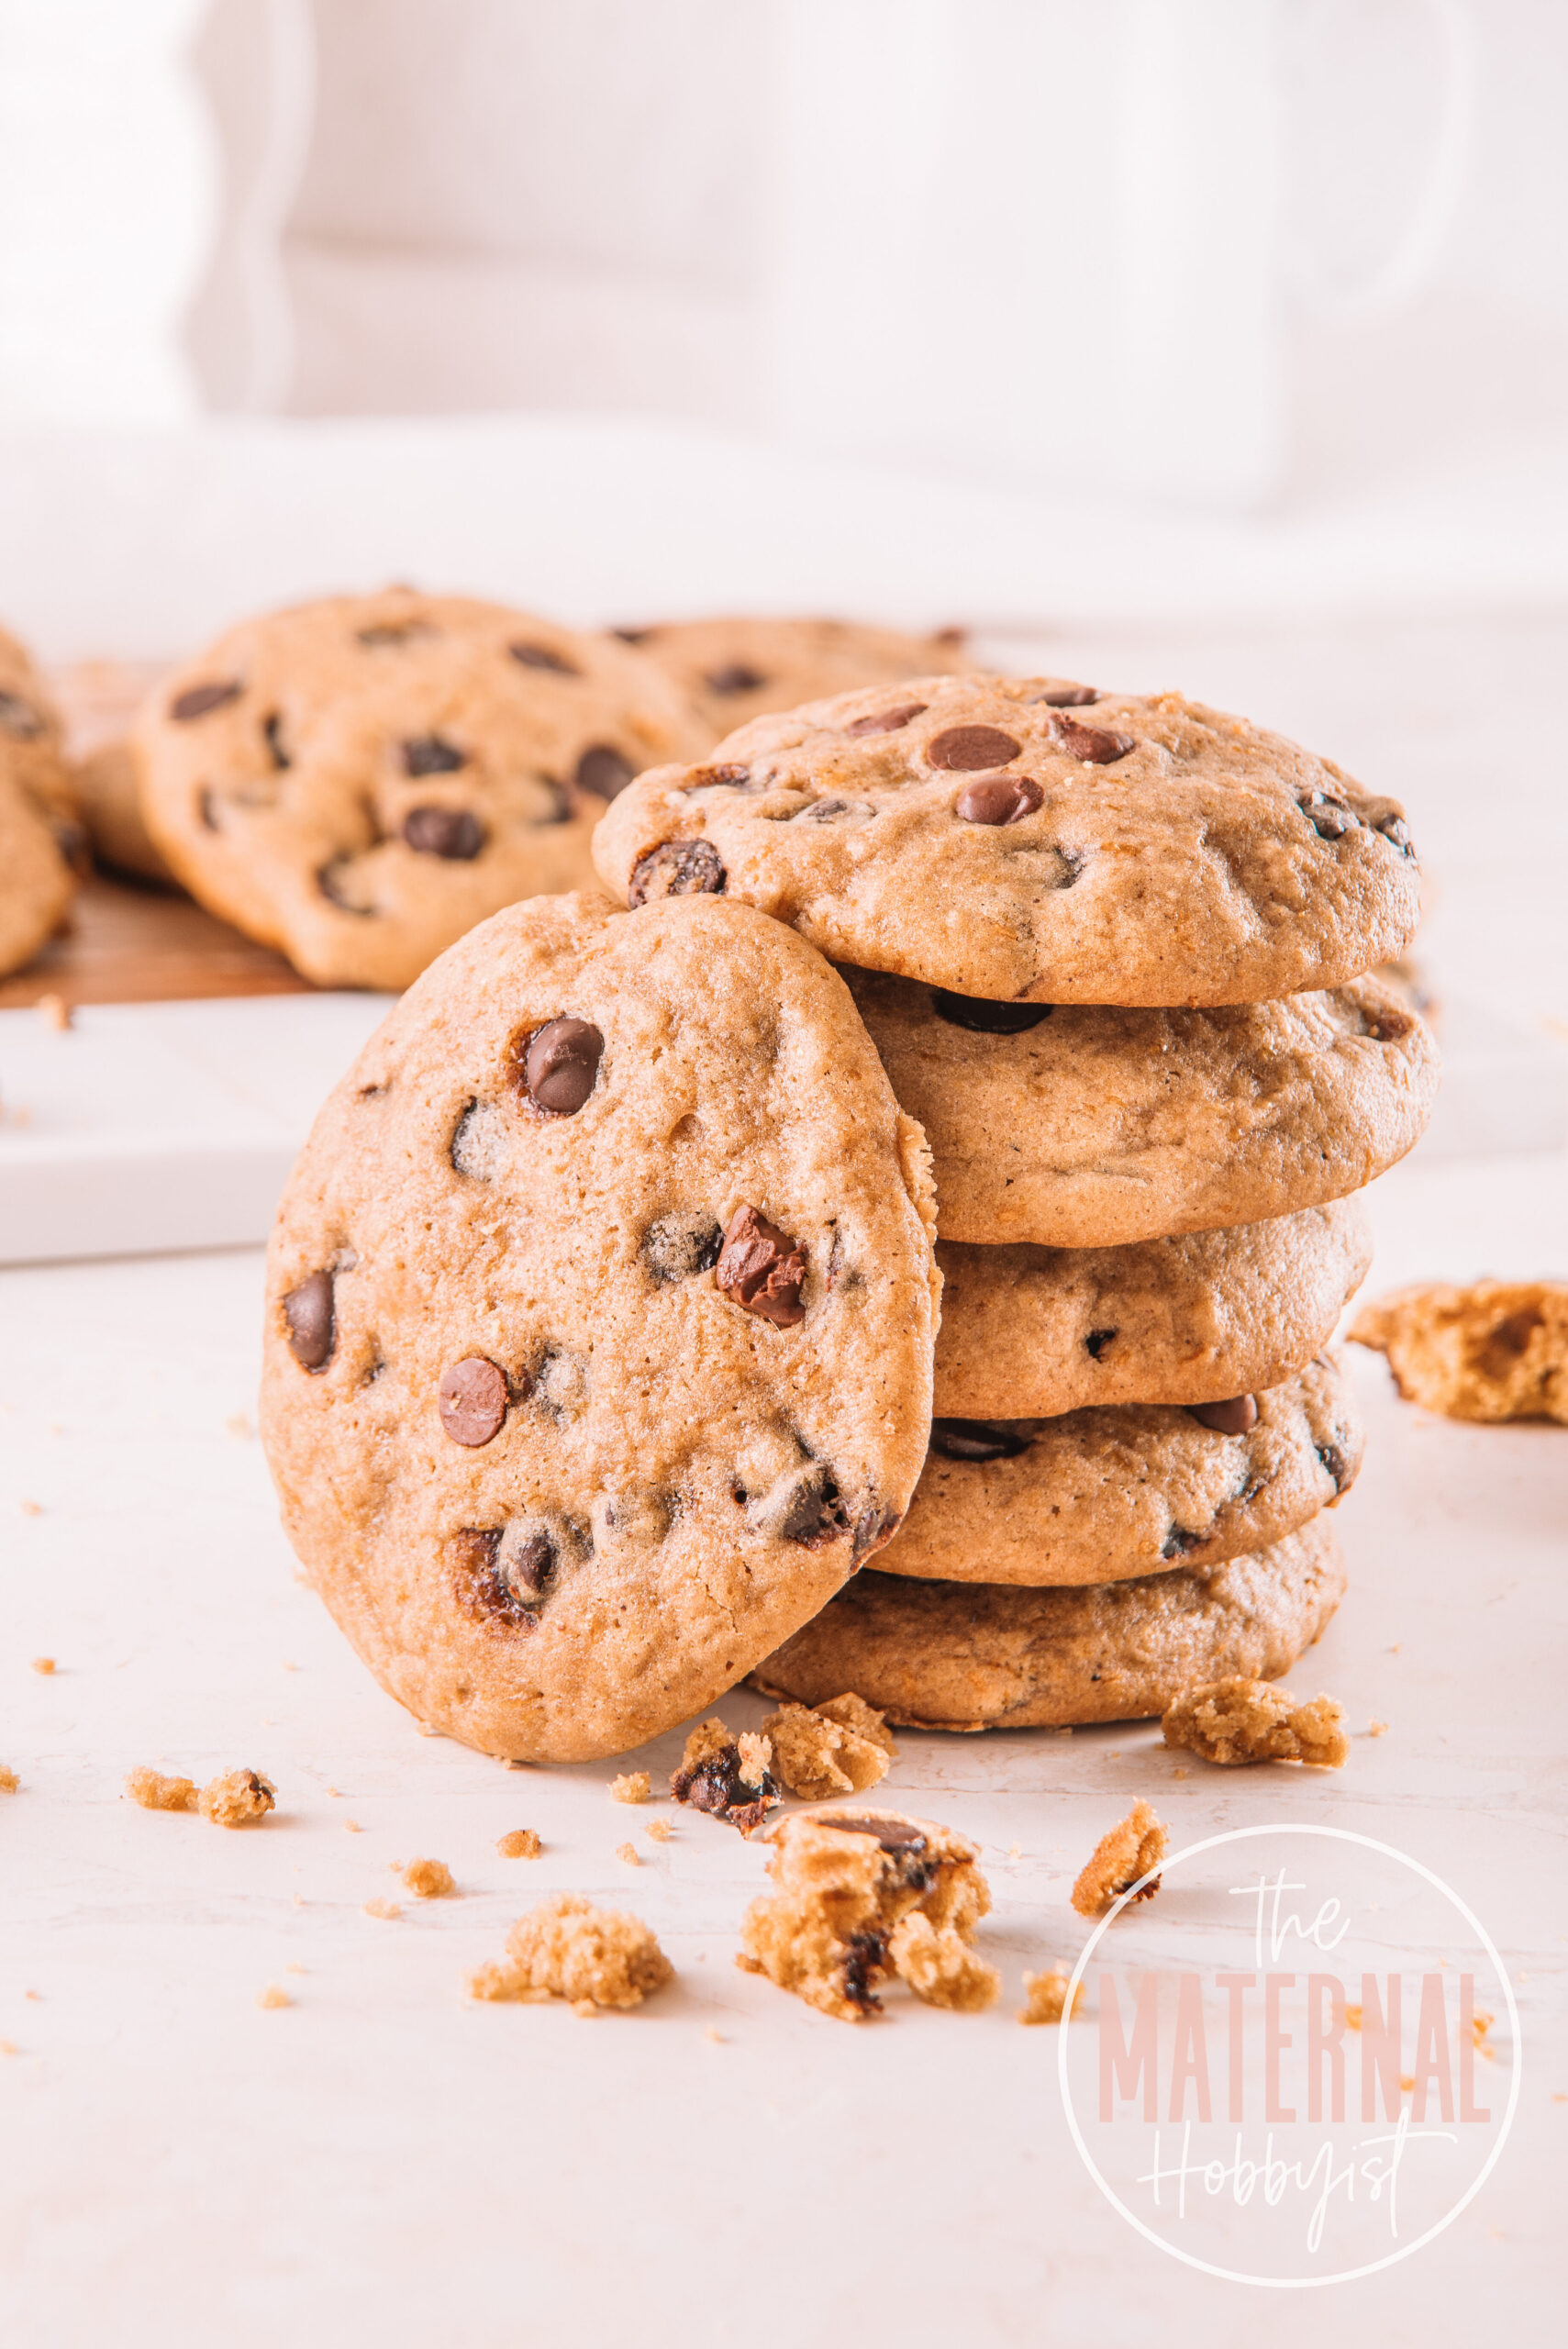

Gluten-Free Pumpkin Chocolate Chip Cookies
As soon as fall starts, the pumpkin craze takes over, and I’m no exception. With the season change comes festive flavors, and these pumpkin chocolate chip cookies are the perfect fall treat!
What sets these cookies apart?
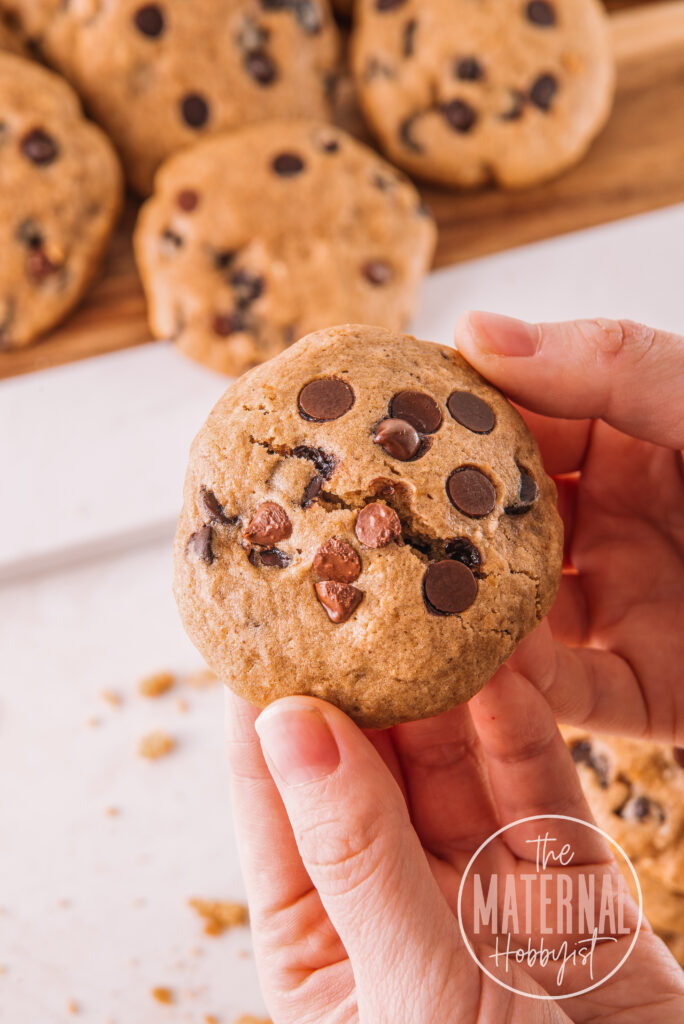
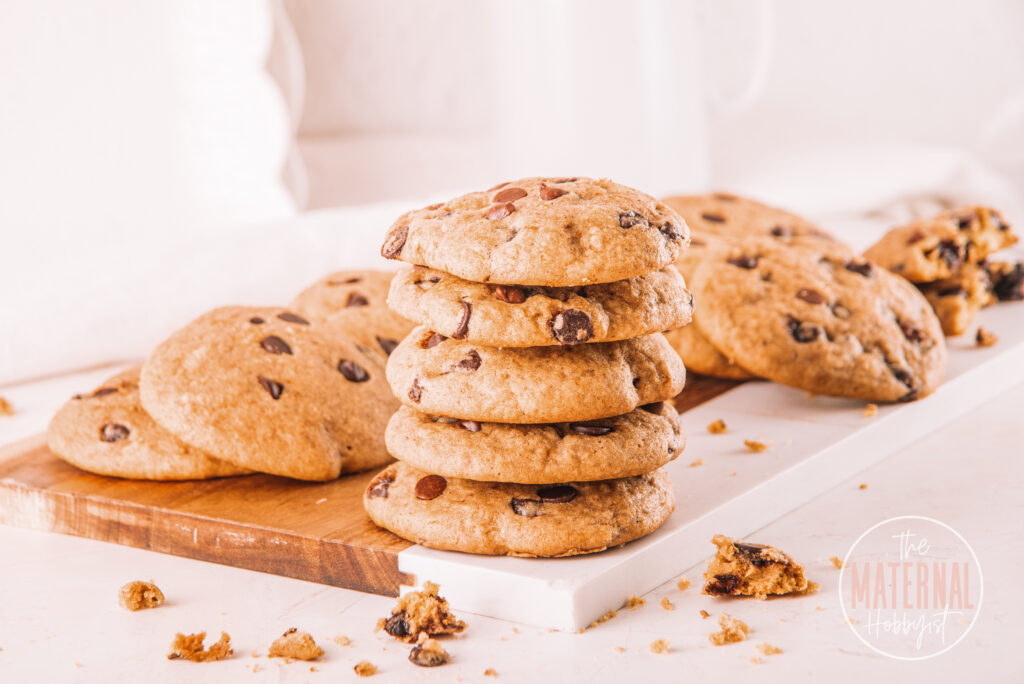
These Pumpkin Chocolate Chip Cookies are the perfect holiday treat. They’re easy to make, and you get a large batch of 32 cookies! Taste-wise, they’re sweet and slightly buttery with a hint of cinnamon and bold chocolate flavor. Finally, texture-wise, these are soft in the center and crispy on the edges.
Take my word for it – if you’re a pumpkin spice enthusiast, you’re going to love this simple and delicious pumpkin chocolate chip cookie recipe.
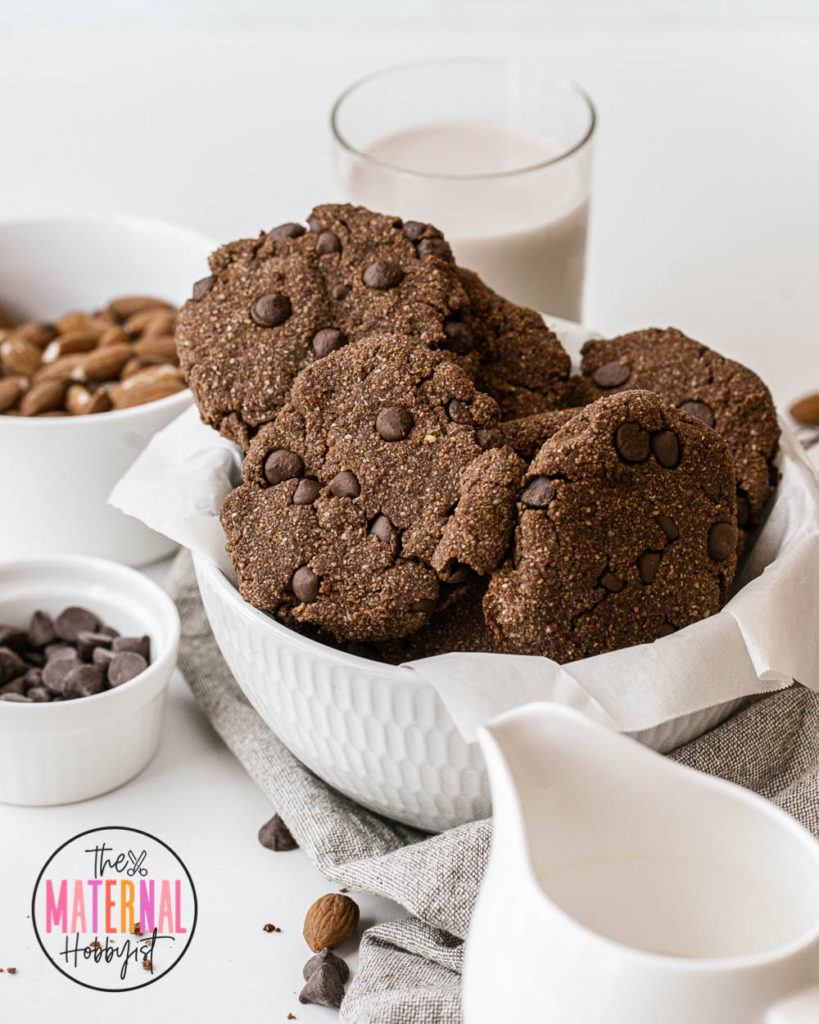
Among my other favorite fall treats are these Gluten-Free Dark Chocolate Almond Flour Cookies and these Hot Cocoa Bombs. Be sure to check out these recipes next!

Ingredients
Here are the ingredients you will need to make these soft gluten-free pumpkin chocolate chip cookies.
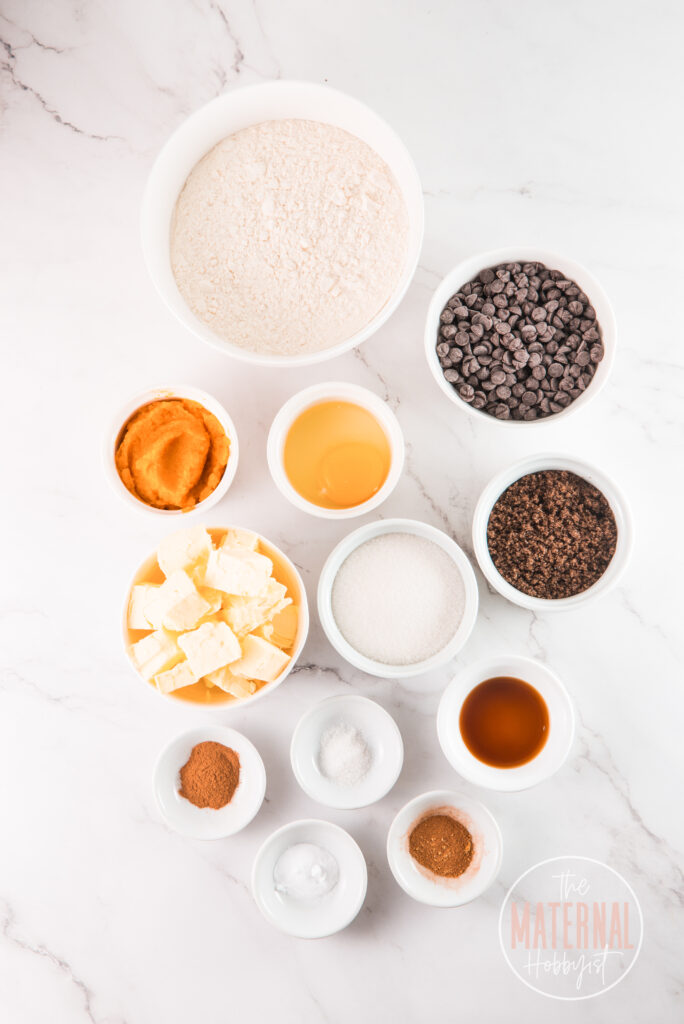

- Gluten-Free Flour: Bob’s Red Mill Gluten-Free 1 to 1 Baking Flour works great in this recipe. Use a food scale to weigh the flour for accurate measurements.
- Pumpkin Puree: Be sure to use 100% pumpkin purée, NOT pumpkin pie filling!
- Dark Brown Sugar and White Sugar: A combination of dark brown sugar and white sugar creates a softer cookie.
- Egg: To ensure proper emulsion and a consistent texture, use room-temperature eggs. This helps them incorporate smoothly into the butter and sugar mixture.
- Softened Butter: Ensure the butter is at room temperature before creaming it with the sugars. Softened butter blends more quickly, resulting in a smoother and creamier batter. For a dairy-free option, you can use dairy-free butter or coconut oil.
- Vanilla Extract: Use a high-quality vanilla extract for the best flavor.
- Baking Soda: Baking soda helps lift the cookies while keeping them soft and chewy.
- Salt: Salt helps balance the sweetness in the cookies.
- Pumpkin Pie Spice: A combination of festive spices that gives these cookies a festive flavor.
- Cinnamon: I add a bit of cinnamon to tone down the cloves in the pumpkin pie spice blend. 1/4 tsp goes a long way.
- Chocolate Chips: I stick to Ghiradelli, and Guittard because they test lower for heavy metals like lead and cadmium. (Dark chocolate has the highest levels of heavy metals so I try to stick to milk chocolate or white chocolate.)
Instructions
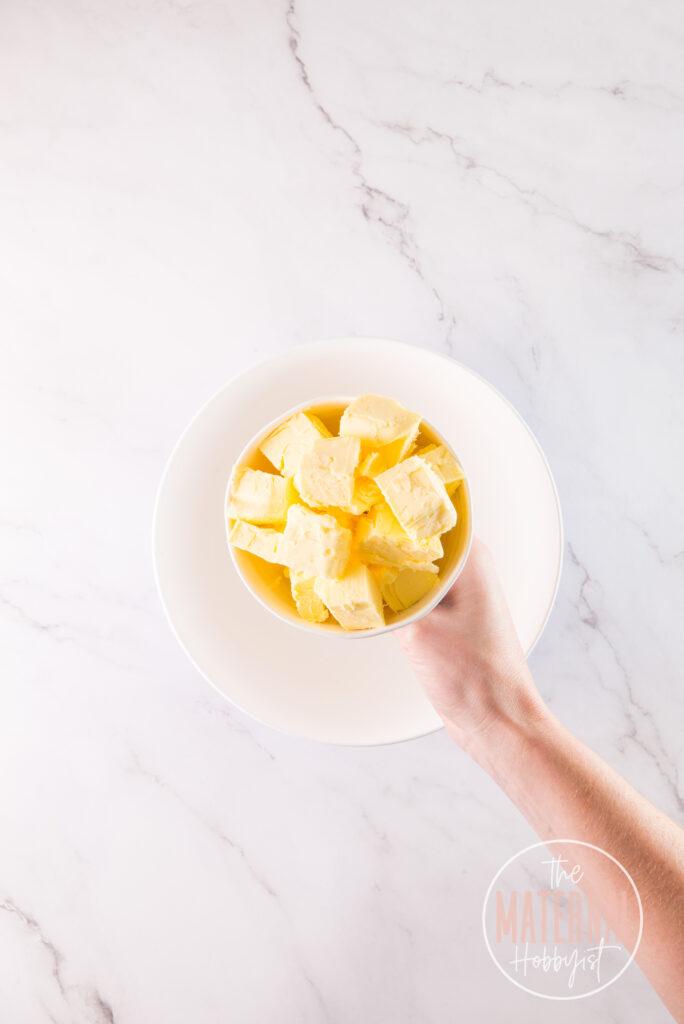


1.) Add the room temperature butter to a bowl, and use an electric mixer to cream the butter.
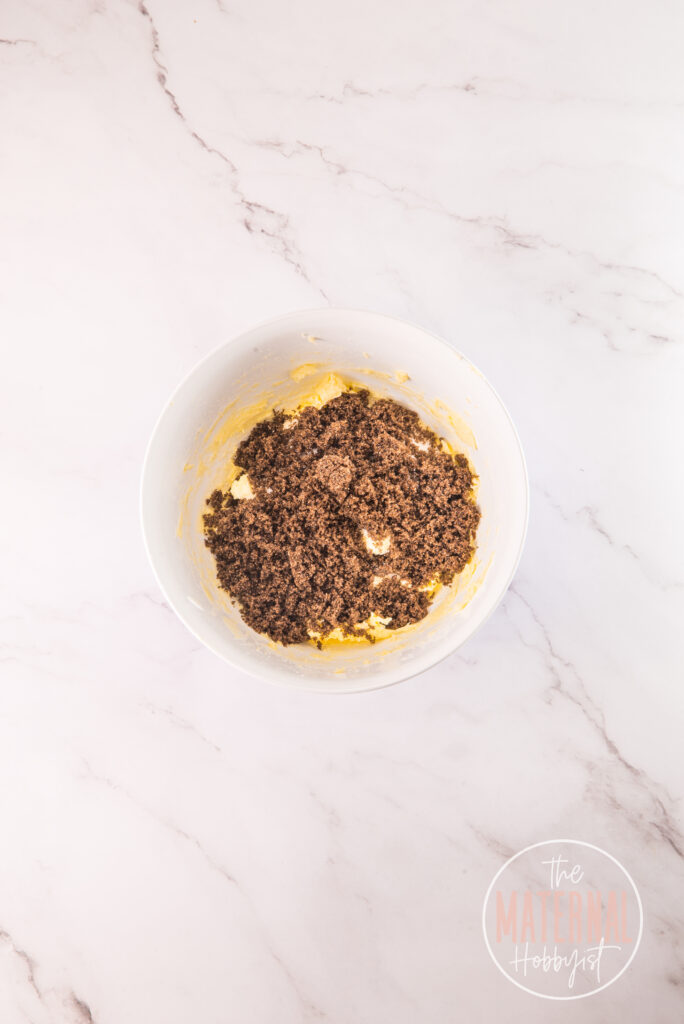
2.) Next add the white sugar and brown sugar to the creamed butter.
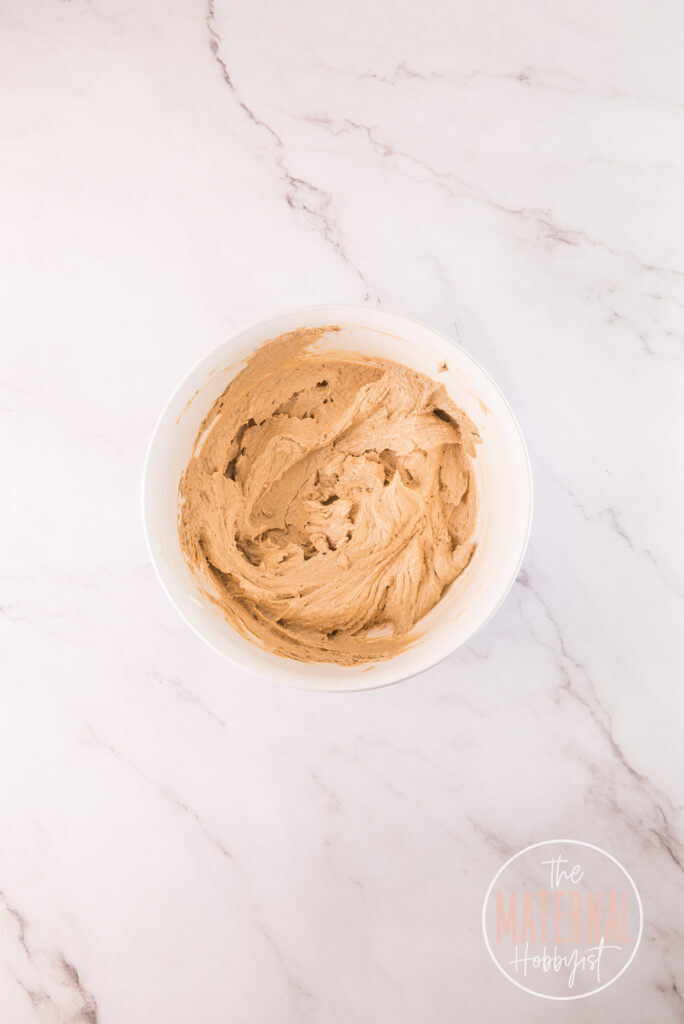

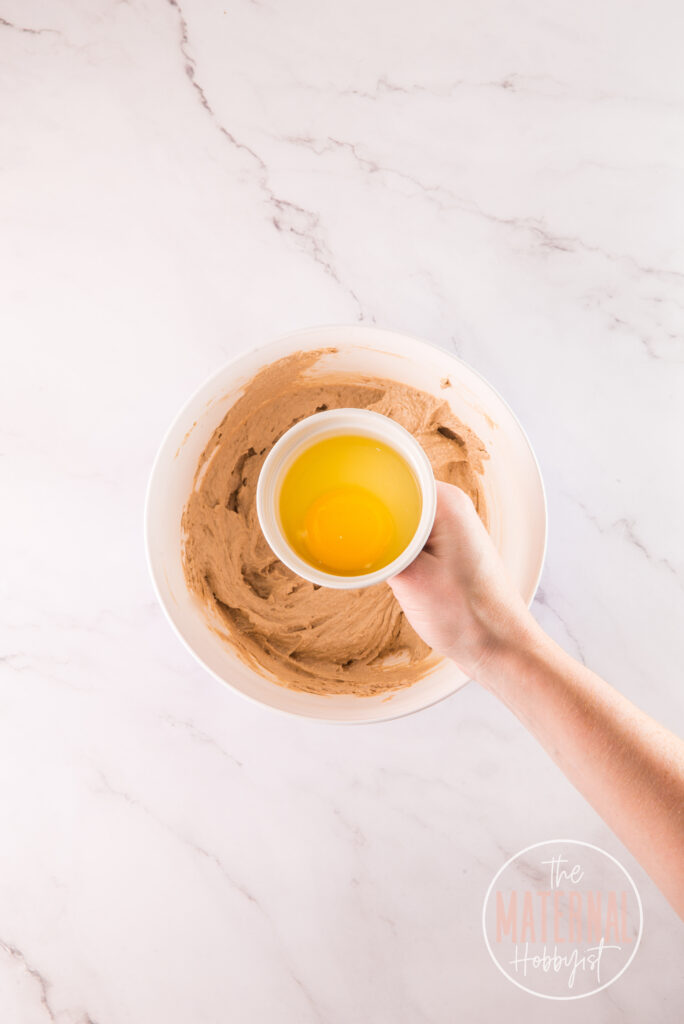

3.) Mix the ingredients together until
smooth and creamy. It is essential to achieve a soft creamy mix before following the next
step.
4.) Then add the room-temperature egg and mix. (The egg should be at room temperature or it will break the butter emulsion, resulting in crispy and hard cookies.)
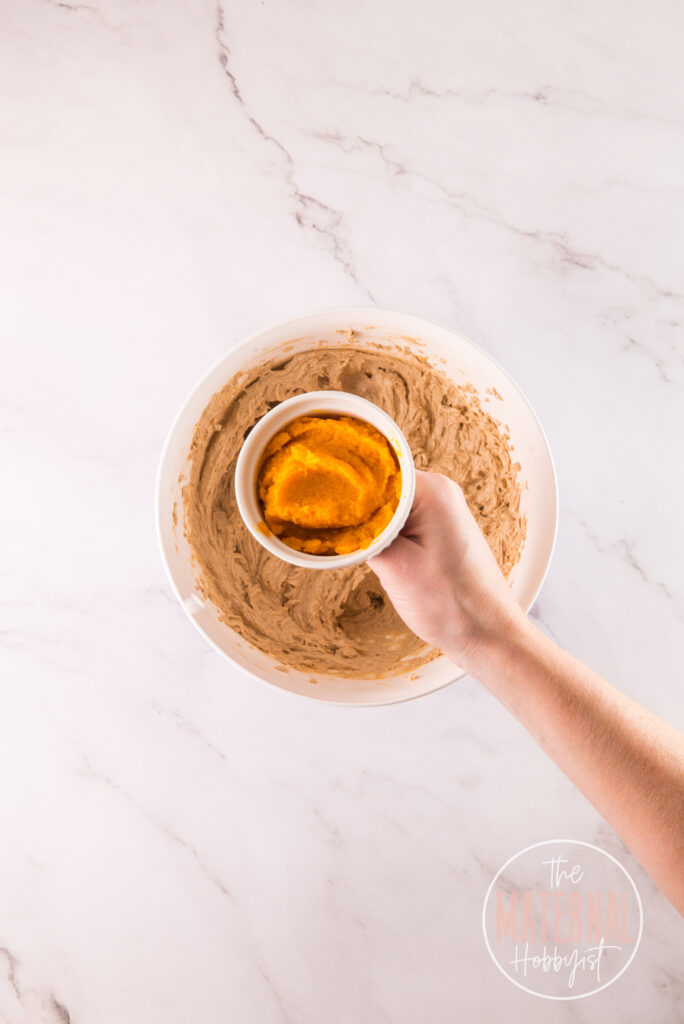

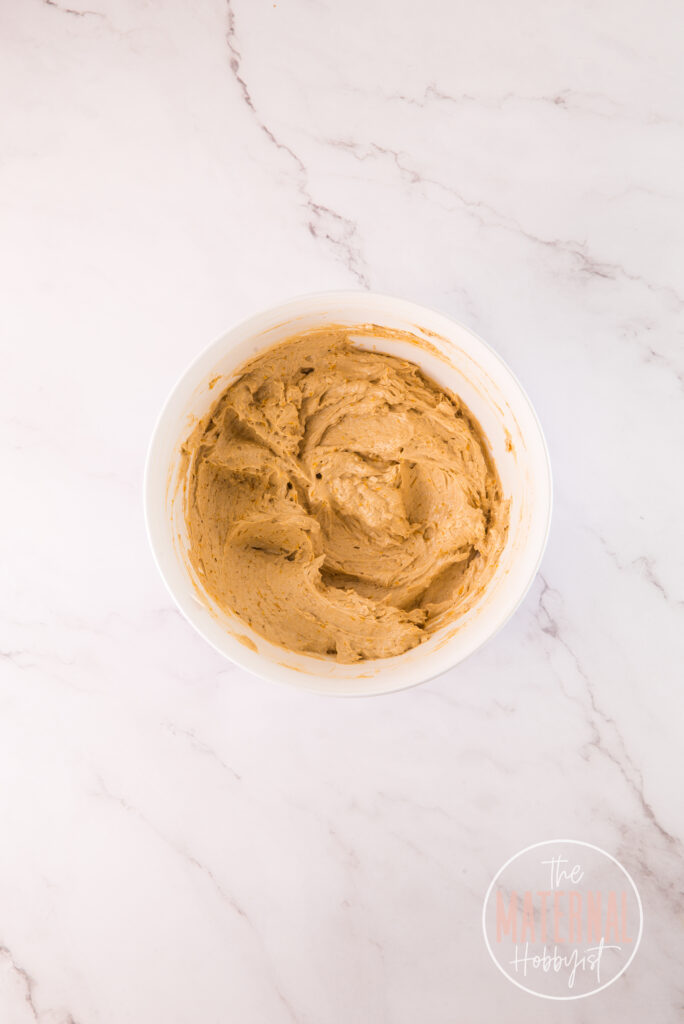

5.) Next, add the pumpkin puree.
6.) Then add the vanilla extract and mix to combine.
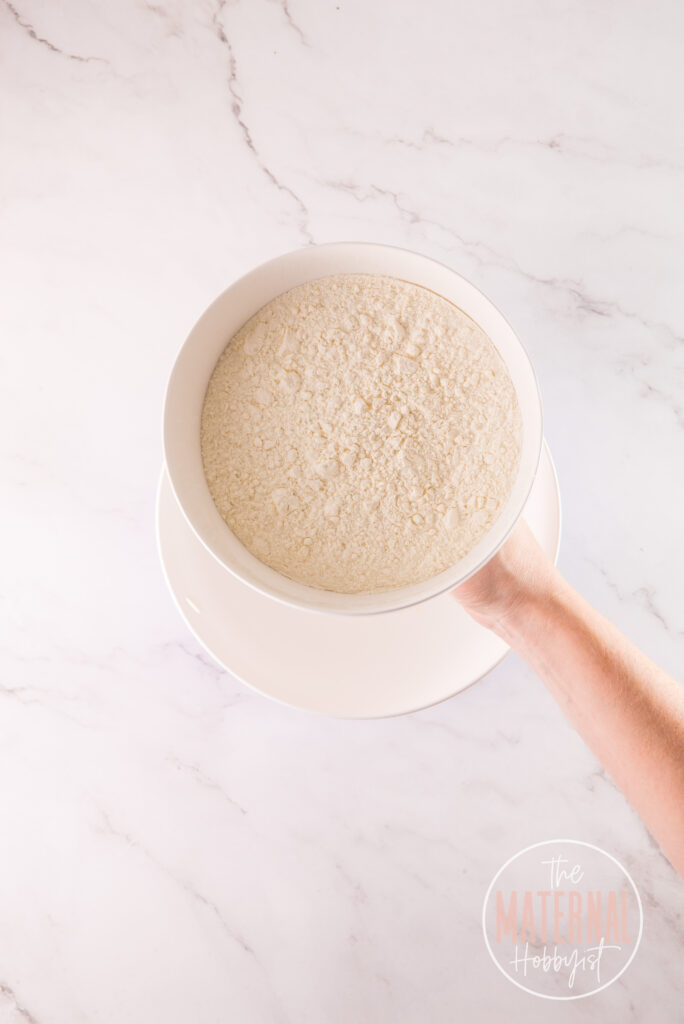


7.) In a separate bowl, add the Bob’s Red Mill Gluten-Free 1 to 1 Baking Flour.
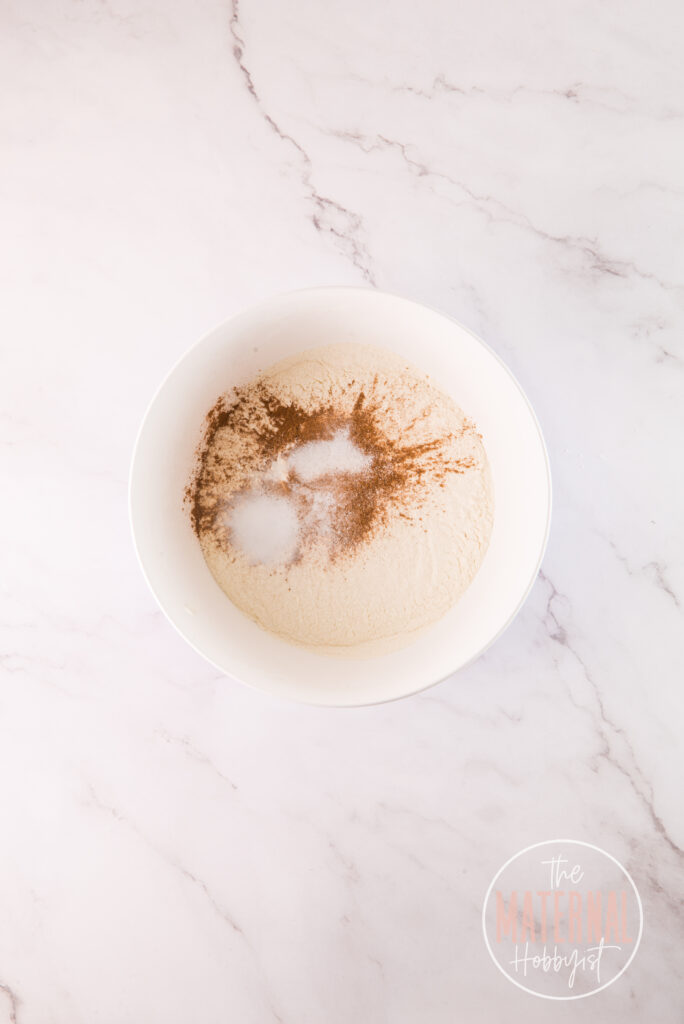
8.) Then mix the rest of the dry ingredients (baking soda, baking powder, ground cinnamon, pumpkin spice, and salt) into the gluten-free flour.
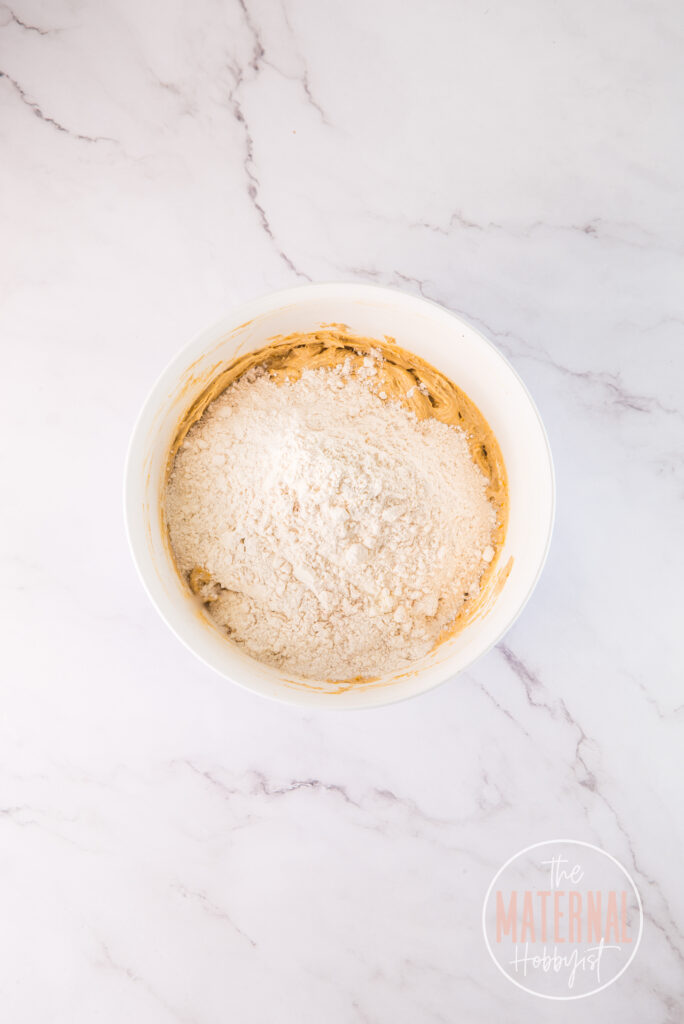


9.) Next, use a spatula to combine the dry ingredients with the creamy butter mixture. The result should be a stiff batter.
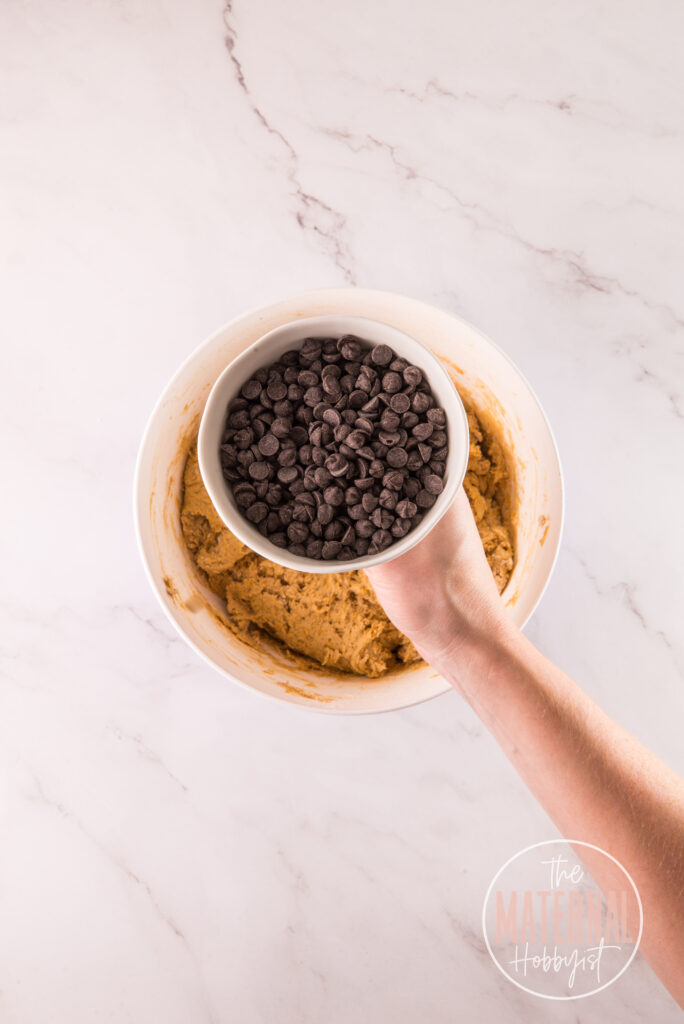
10.) Finally, fold in the chocolate chips and mix.
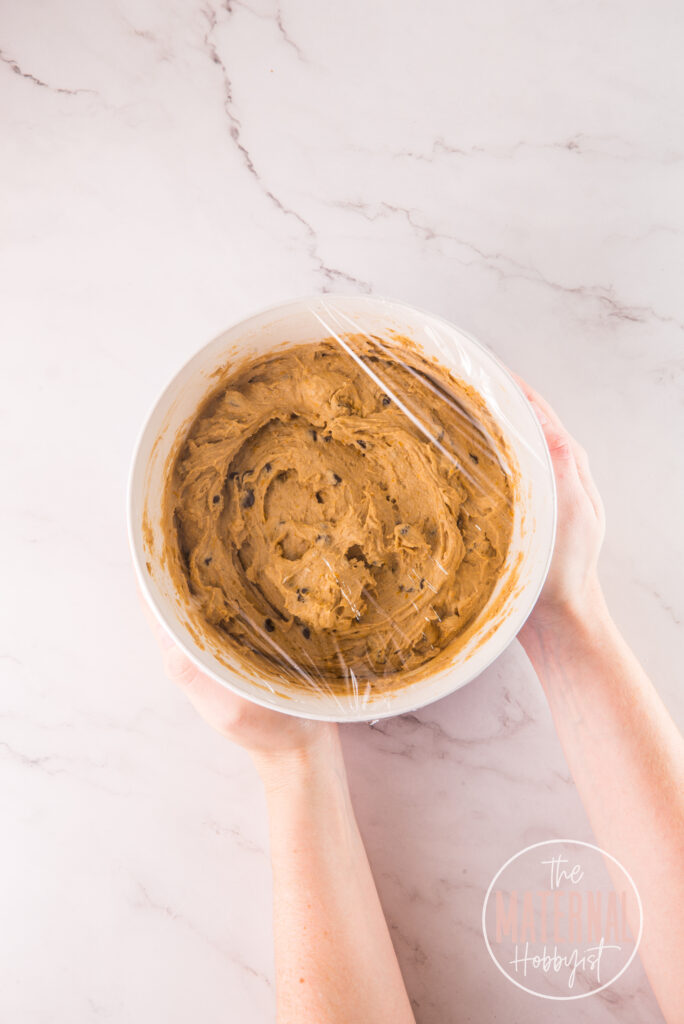

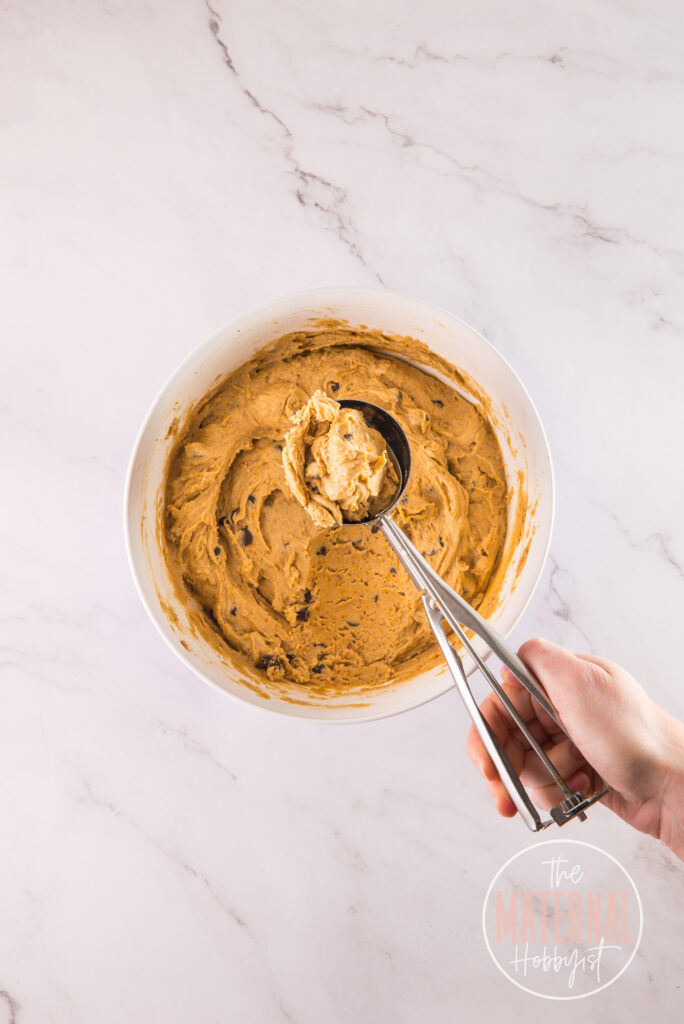

11.) Cover the bowl in film paper and let it chill in the fridge for at least 2 hours or overnight. The chilling process is key to the flavor and texture of the cookies.
12.) Before baking the cookies, preheat the oven to 350F and prepare at least two baking trays with parchment paper. Scoop cookie batter into the prepared baking tray. (I used a 1.25oz scoop.)
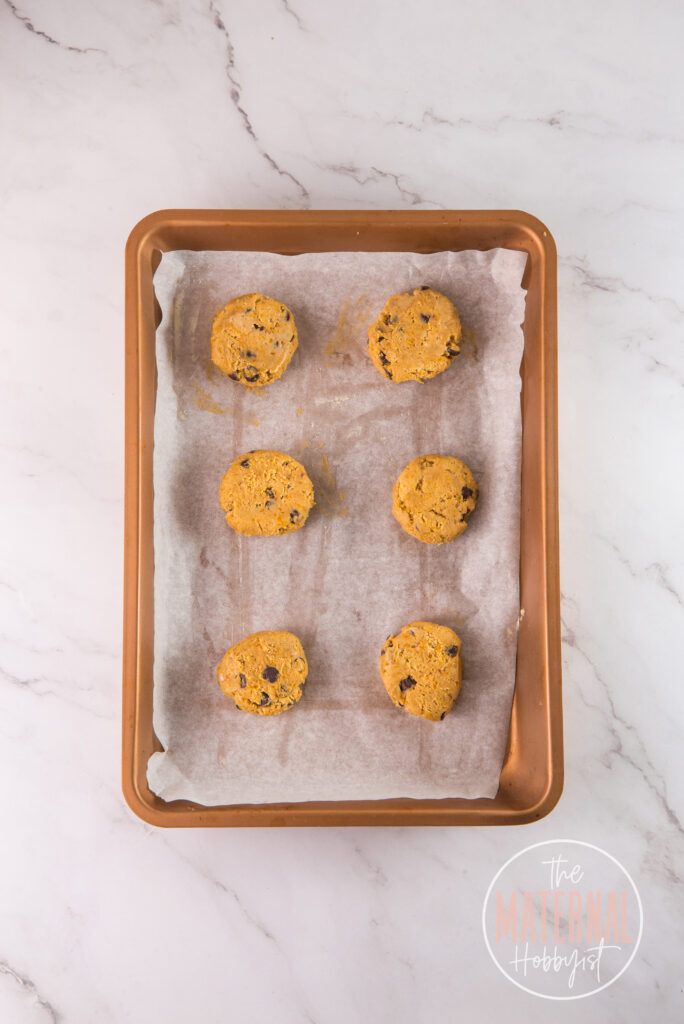


14.) Scoop dough onto a parchment-lined baking tray, leaving 2 inches between each cookie. Lightly flatten the top of each cookie before baking.
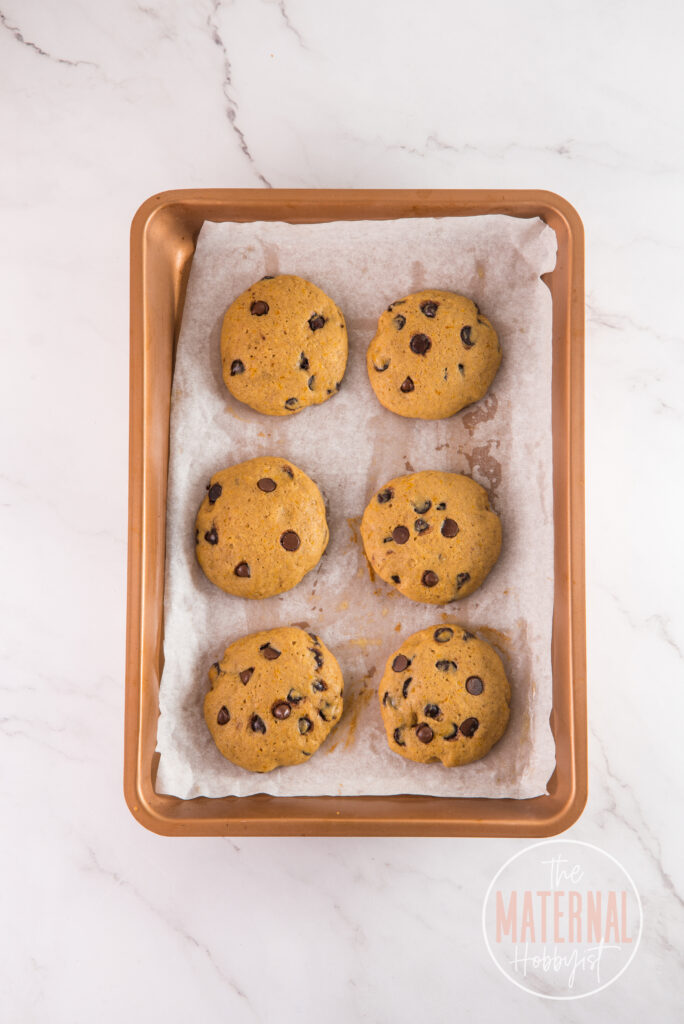
15.) Then bake the cookies for 15 to 16 minutes or until the edges are set and lightly golden. Keep an eye on the cookies while baking. Baking time may vary depending on your oven, so start checking them around the 14-minute mark.

16.) Finally, once baked, let the cookies cool on the baking trays for a few minutes before
transferring them to a wire rack to cool completely. This allows them to finish baking. Now, it’s time to enjoy!
Storage
Store leftover cookies in a tightly sealed container at room temperature for up to two days or in the refrigerator for up to 5 days.
Alternatively, you can freeze the cookies by wrapping them individually and placing them into a large storage bag or a container. Then place them into the freezer for up to two months. Remove the bag from the freezer the night before serving.

Recipe
Gluten-Free Pumpkin Chocolate Chip Cookies


Equipment
- 1 Electric Mixer
Ingredients
Wet Ingredients
- 1 cup Butter – room temperature
- 1 Egg – room temperature
- 1/2 cup Pumpkin puree NOT Pumpkin pie filling!
- 1/2 cup Brown Sugar
- 3/4 cup White sugar
- 1 1/2 tsp Vanilla extract
Dry Ingredients
- 2 1/2 cups Bob's Red Mill Gluten Free 1-to-1 Baking Flour
- 1/2 tsp Baking soda
- 1/2 tsp salt
- 1 tsp Pumpkin spice
- 1/4 tsp Ground cinnamon
- 1 cup Chocolate chips
Instructions
- Use an electric mixer to cream the butter, add white and brown sugar, then mix until smooth and creamy. It is essential to achieve a soft cream before following the next step.
- Add the egg and mix. The egg should be at room temperature; otherwise, it will break the butter emulsion, resulting in crispy and hard cookies. Next, add pumpkin puree and vanilla extract and mix to combine.
- Mix the dry ingredients (flour, salt, baking soda, ground cinnamon, and pumpkin spice) in a different bowl. Then add them to the creamy batter. Use a spatula to combine; the result should be a stiff batter. Finally, fold in chocolate chips and mix.
- Cover the bowl and let it chill in the fridge for at least 2 hours overnight. The chilling process is key to the flavor and texture of the cookies.
- Before baking the cookies, preheat the oven to 350F and prepare at least two baking trays with baking paper. Scoop cookie batter into the prepared baking tray (I used a 1.25oz scoop), leaving 2 inches between each cookie. Lightly flatten the top of each cookie.
- Bake the cookies for 15 to 16 minutes or until the edges are set and lightly golden. Keep an eye on the cookies while baking. Baking time may vary depending on your oven, so start checking around the 14-minute mark.
- Once baked, let the cookies cool on the baking trays for a few minutes before transferring them to a wire rack to cool completely. This allows them to set and firm up a bit.
Notes
- Soften the butter: Ensure it is at room temperature before creaming it with the sugars. Softened butter blends more quickly, resulting in a smoother and creamier batter.
- Use room temperature ingredients: To ensure proper emulsion and a consistent texture, use room temperature eggs. This helps them incorporate smoothly into the butter and sugar mixture.
- Chill the dough: After combining all the ingredients, it's crucial to chill the cookie dough in the refrigerator for at least 2 hours, or preferably overnight. Chilling allows the flavors to meld together and prevents the cookies from spreading too much during baking.
- Use high-quality chocolate chips that you enjoy. They will provide bursts of rich chocolate flavor throughout the cookies. You can use semisweet, milk, or dark chocolate chips, depending on your preference.
- Leave enough space between cookies: When scooping the cookie dough onto the baking trays, leave about 2 inches of space between each cookie. This allows them to spread and bake evenly without sticking together.
- Store these cookies in an airtight container at room temperature for up to a week. If you want to keep them longer, you can freeze the cookies for up to 3 months.

